Settings
Qr code menu ordering enable, configure and manage.
To enable and configure menu ordering click on settings > menu ordering.
Click “Get started” and you will be redirected to the Stripe screen. We use Stripe for payment processing and to start accepting orders you have to fill out the information they need.
Go through all the screens and enter all the information required. Stripe lets us know when you have completed the process and given them all the information they need. If you return to Happy Menu menu ordering screen before you have completed the process, you will be prompted to complete the process. Just click on “complete account” and you will be returned to stripe to complete the process.
If you have entered all the details required but you have not met all the requirements, you will get this message “Your details have been submitted to Stripe but some requirements have not been met. Please log in to your stripe dashboard and complete the requirements here. Once your stripe account is completed and your business has been verified you can start taking orders.” Click the link or log in to Stripe and you will be able to see which requirements you need to complete. It’s usually business representative identification information like photo id etc. When you sign up to stripe, you get a verification email sent to the email address you used for sign up. Go to your inbox and click “Verify Email“. Your account will not be activated until you verify your email, so do not forget this step.
Once you have satisfied all of Stripe’s requirements, stripe lets our systems know and your accounts are linked. Once your accounts are linked, if you log into your Happy Menu account and go to settings > menu ordering, you will be able to see the configuration options below.
How to configure your QR code menu ordering
Enable menu ordering

Ordering is enabled by default, but it can be turned off.
Currency
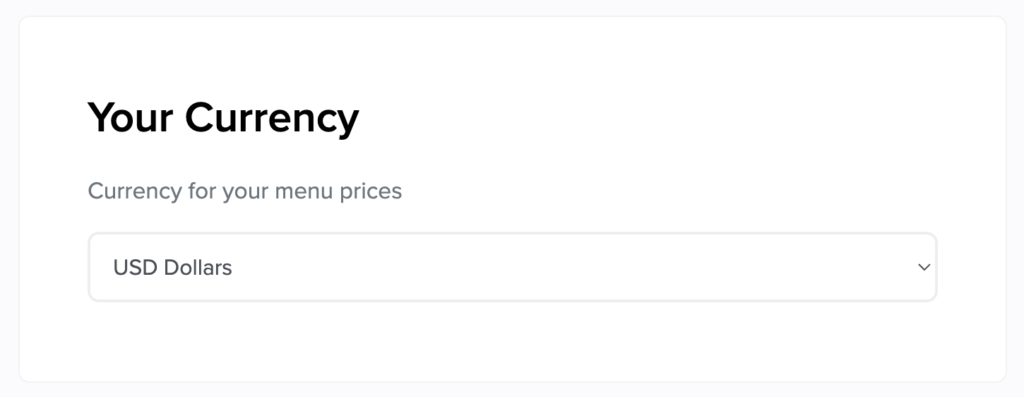
Select the currency of your menu prices.
Tax Rates
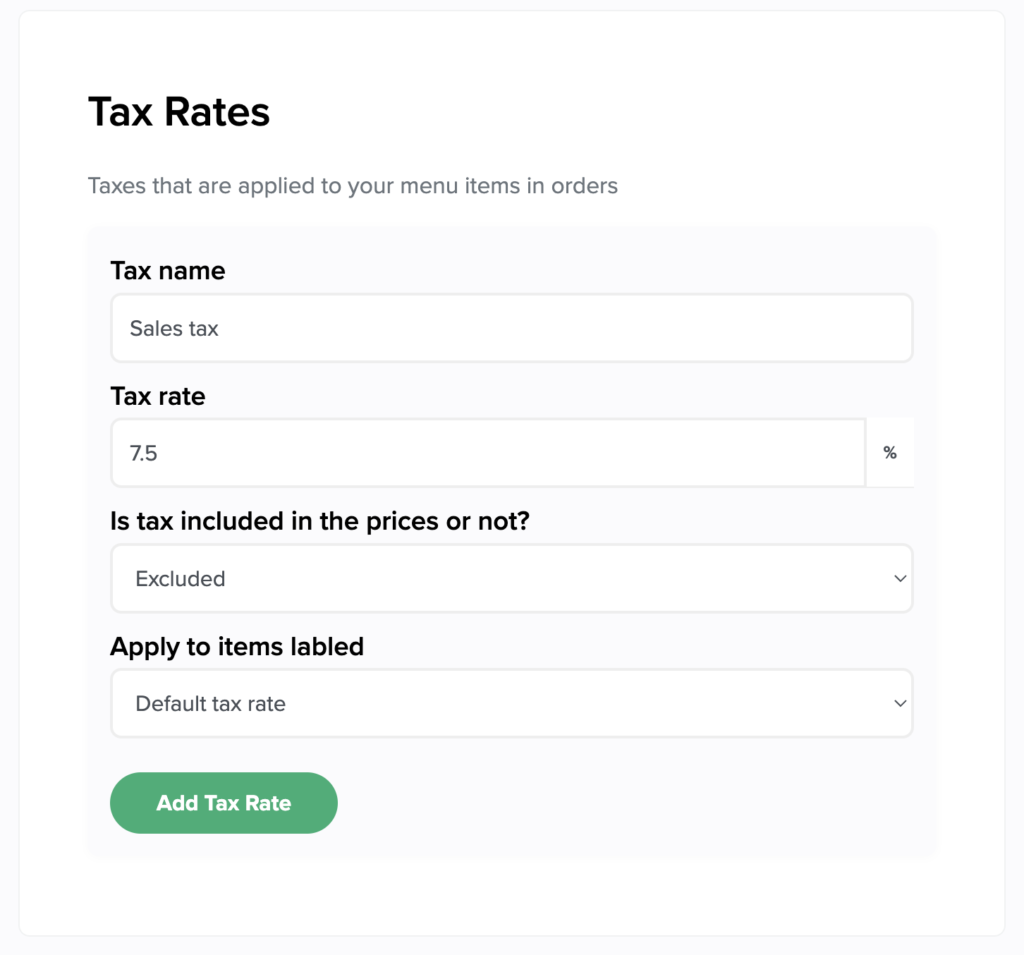
Tax Name
Name of the tax
Tax rate
Tax rate
Included / Excluded
Whether the tax rate is included in the price or not.
Apply to items labeled
Which items to apply the tax rate to. The labels are available as options when you add or edit the items in your menu.
Menu ordering hours
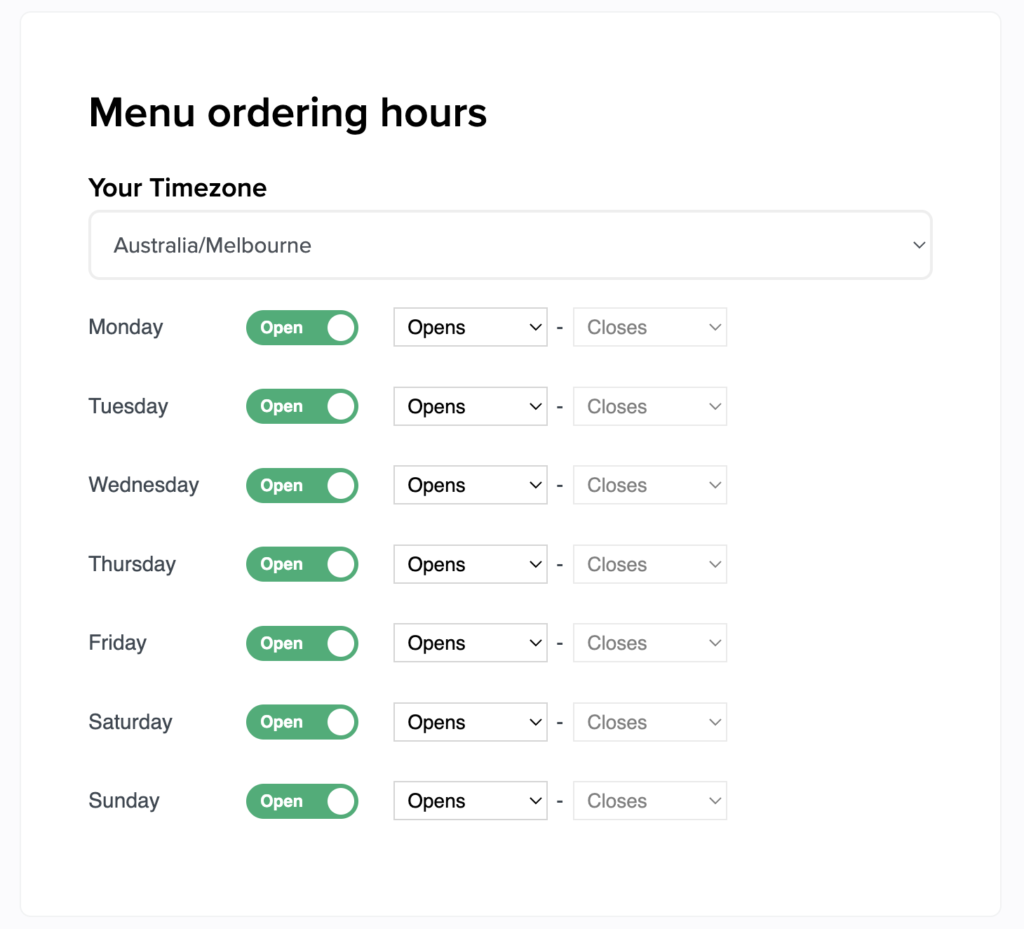
Configure the days and times you accept orders from your menu. Make sure you have set a timezone in your business settings for this to work as expected. Timezone can be set at Settings > business
Dine-in orders
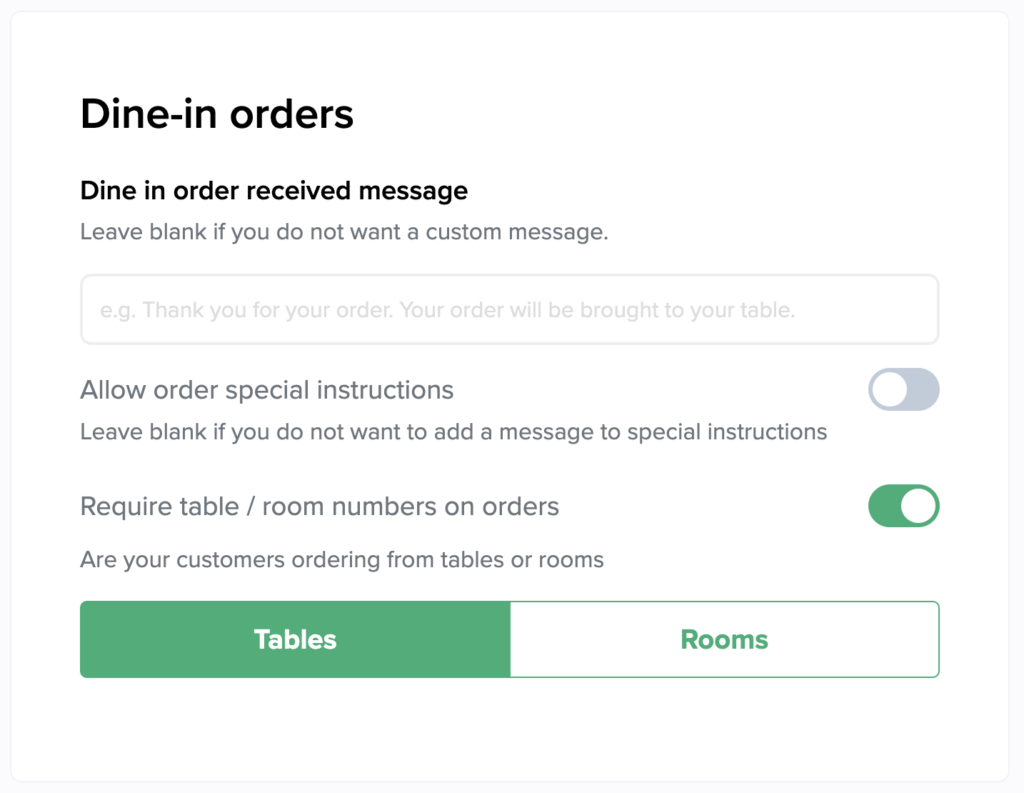
Message received
Set the message you want diners to get on their phones when you get their order. Leave blank if you do not want to send a custom message.
Allow order special instructions
Toggle on if you would like customers to be able to give special instructions with their order.
Require table numbers
Toggle on if it is mandatory for customers to enter a table number with their order.
Pickup / Takeout orders
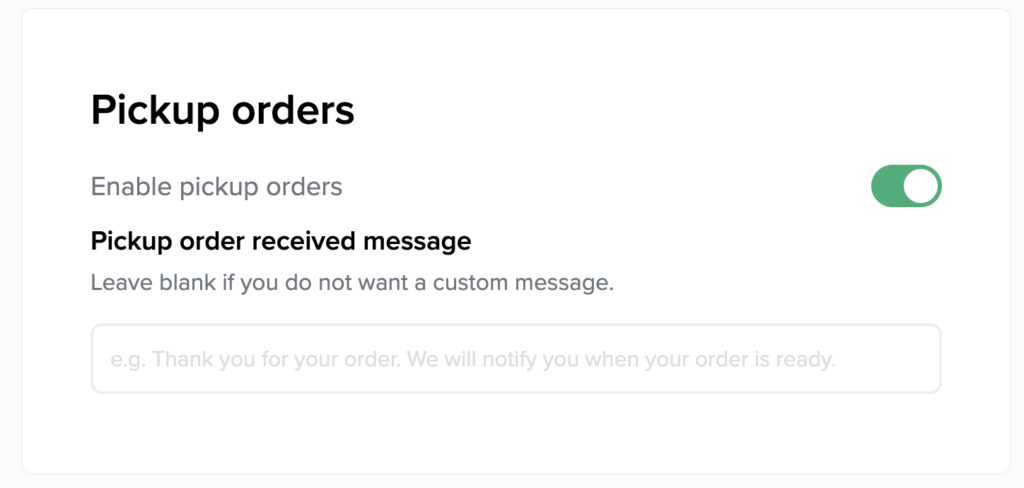
Enable
Toggle on if you want to enable pick up orders
Message received
Set the message you want customers to get on their phones when you get their order. Leave blank if you do not want to send a custom message.
Tips
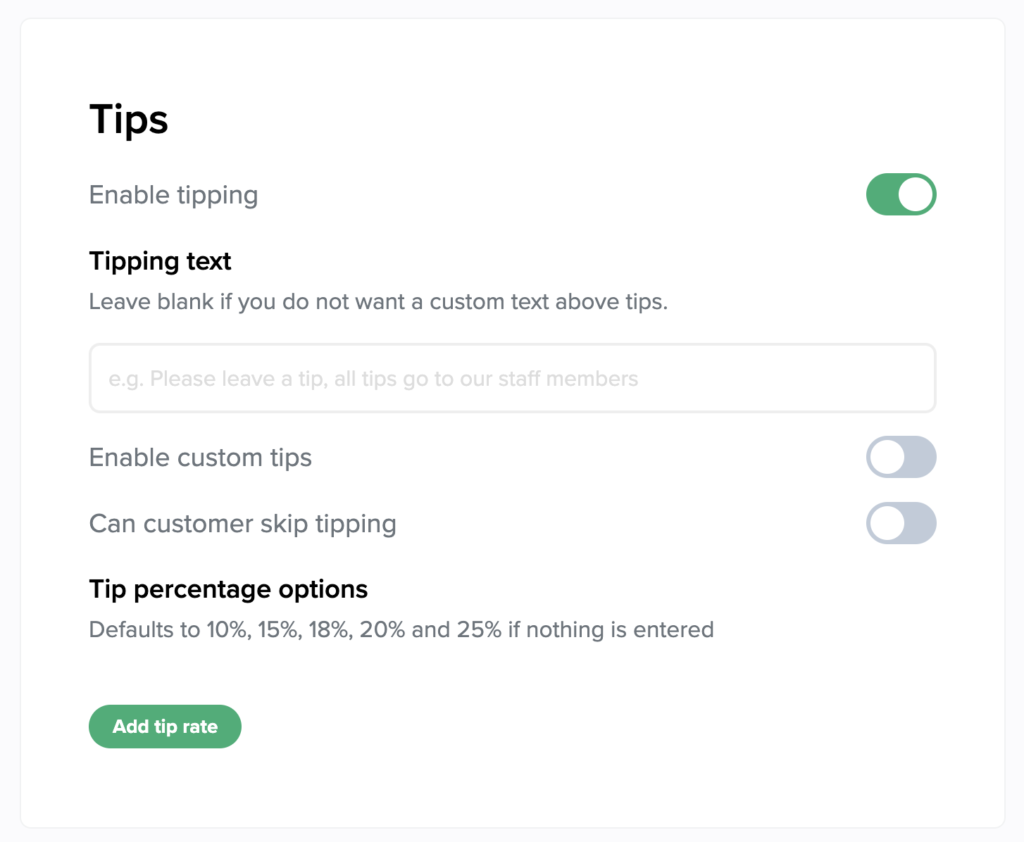
Enable
Whether tips are enabled or not
Tipping text
Fill this field out if you want custom text above tips at checkout
Enable custom tips
Whether the customer can enter a custom tip amount or not
Can customer skip tipping
Whether customer can skip tipping
Tip percentage options
Tips default to 10% 15% 18%, 20% and 25%. Click add a tip rate if you would like to configure your own options.
QR code menus
Beautiful digital menus for small restaurants bars and cafes
Per month
Free 14 day trial
