Food items
How to add, edit and delete your menu items
Before you add menu food items you need to have at least one menu category to add them into. Click here to find out how to add menu categories.
How to add a food item to your menu

Click add menu item at the top of the menu next to “Add Category”. Once you click “Add Category” a dialog box will appear.
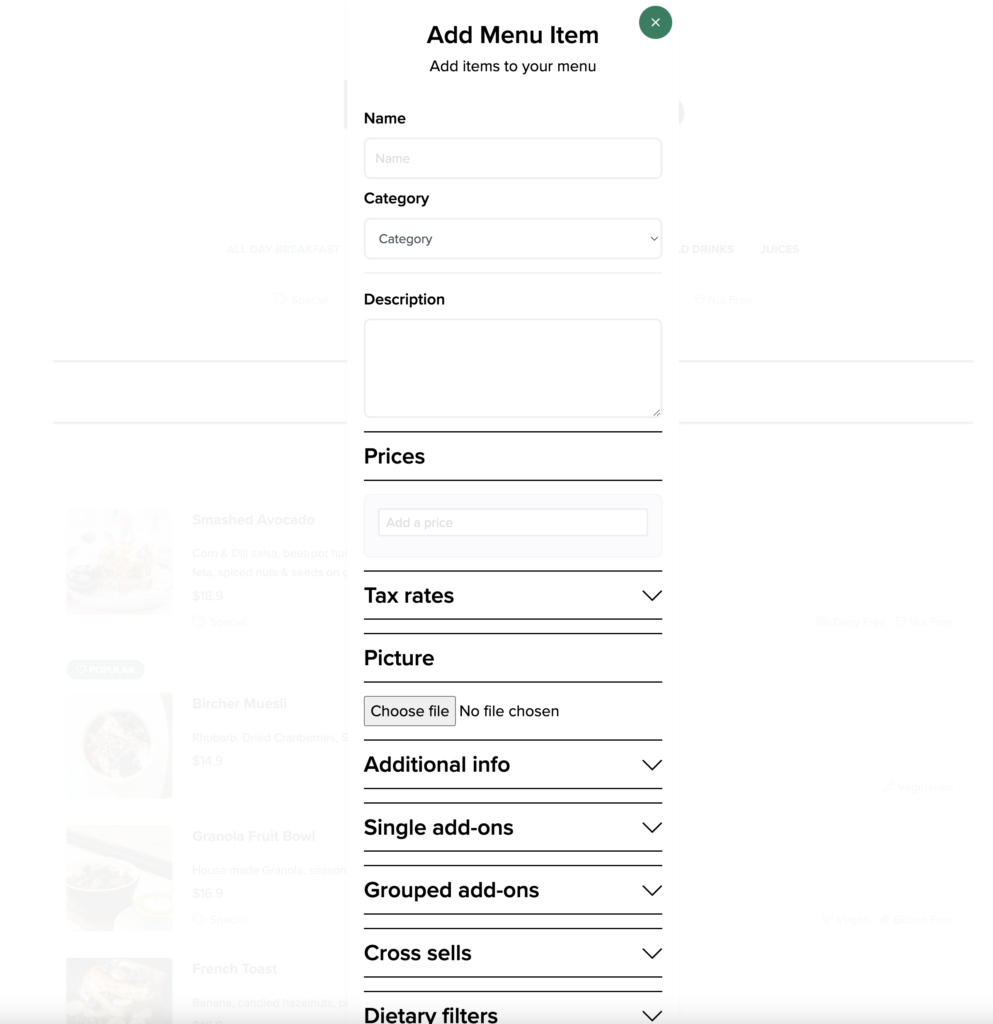
Name
Name of your item e.g. Burger
Category
Category your menu item belongs to. If you have not added any categories you need to add a menu category and it will appear in the drop down.
Prices
Prices for your item, once you add a price a field for the price labels will appear. If the item only has one price, leave the label field blank. If the item has multiple prices e.g. Small, Medium and Large, add the appropriate label for the price you have just entered. Once you are done click “add price“. If the item has multiple prices add the rest of the prices in the same way.
Tax rates (optional)
If you have menu ordering turned on in your settings and you have set up different tax rates for different types of items, then select the tax rate you would like to be applied to this item.
Picture (optional)
If you wish to add a picture of the item, click choose and select the picture you would like to use.
Additional info (optional)
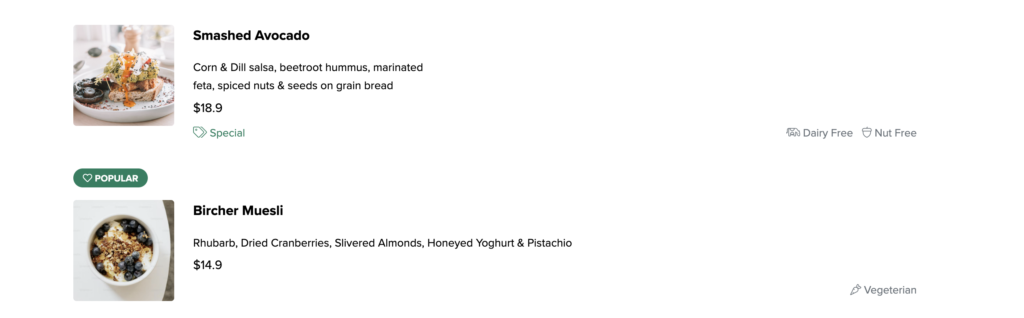
You can set additional information for the item here. Set whether the item is sold out, Available for pickup, On Special, New item, and Popular item. Special, New item, and Popular item are displayed as tags next to the item in your menu.
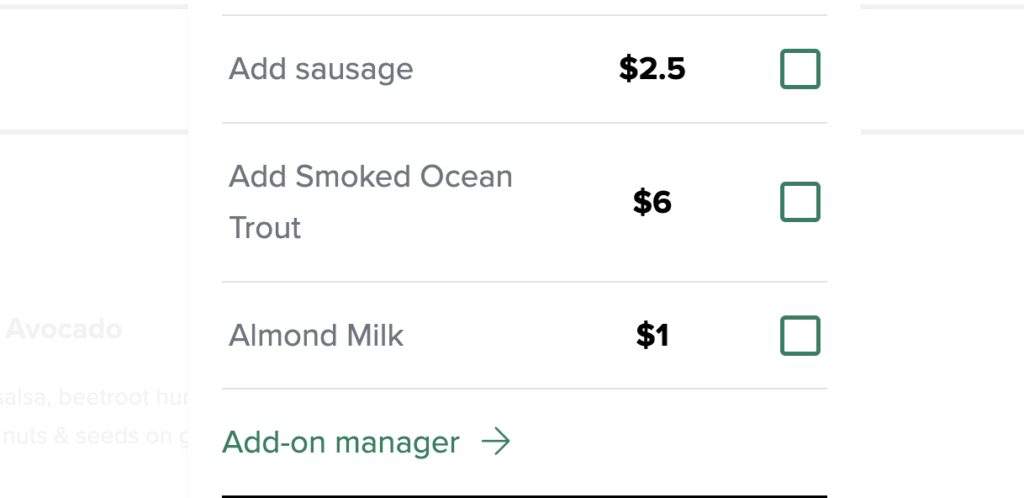
Single add-ons (optional)
Select the add-ons the customer can have with the item, e.g. extra cheese or avocado. You need to have some add-ons to choose from, you can add your add-ons by clicking on the add on manager link
Grouped add-ons (optional)
Grouped add ons are add-ons that you can group e.g. Milk type for coffee, or choose your drink for a meal deal. Add selectable add-ons by clicking on the add on manager link.
label
Label for your group e.g. Type of milk, or Choose a side
Is required
Whether the customer needs to select options in the group or not. For example, Choosing a side would be required in a value meal deal, a group with extras like cheese and avocados may not be required.
Can select multiple
Determines whether the customer can select just one item or multiple items
Min selections
This option appears if you select the “can select multiple option”. This option determines the minimum number of items that can be selected.
Min selections
This option appears if you select the “can select multiple option”. This option determines the maximum number of items that can be selected.
Click add group once you are done configuring the group. You can add as many groups as you like and you can set their order by dragging them up or down.
Cross sells (optional)
Select the other items you would like to be shown with the item you are creating at checkout. This gives you the opportunity to increase the order value. You need to have some cross sells to choose from, you can add your cross sells by clicking on the cross sell manager link.
Dietary filters
Select the dietary filters that apply to the item. The options available are: Vegetarian, Vegan, Gluten Free, Dairy Free and Nut Free. Select all that apply. The applicable filters will appear below the menu item.

Time slots / only show at certain times
Click this option if you want your menu item to appear at certain times of the day. Make sure you have set your timezone in your business settings. When you click this option you need to fill out the From an To times you would like the item to appear.
Publish
Toggle publish if you want the item to appear on your menu, it is on by default. If you do not toggle publish, your menu item will be saved when you click submit but it will not appear on your menu.
Submit
Do not for get to click submit. Clicking submit saves your menu item. Once your item is saved, you will be returned to your menu where you will be able to see your new item on the page.
How to edit a menu item
To edit a menu item, click on the item you would like to edit. Once you click the item, the Edit Item dialog will appear. Fill out all the options you would like to change and click submit to save. Once you click submit, you will be returned to your menu where you will be able to see the changes.
Change order of items
To change the order of items on your page, click the item and drag it to the position you want it to appear.
Happy Menu
Restaurant menu system for small restaurants bars and cafes
Per month
Free 14 day trial